Hey there creating a website or a blog of your own can be a fun, exciting and rewarding experience. It’s my hope that today we here at www.BlogTechTips.com will make the task a easy and trouble free experience that you can get completed in a weekend. So sit back relax and follow as we run you through the basics and have you create your own website using HostGator in a weekend.Also if its not a weekend this tutorial will still work as a general tutorial for creating a website with WordPress and HostGator.
Free or Paid Hosting?
You could consider free hosting but I would advise against it as in the long run valuable time can be wasted when a website is created on a free service and later should you decide to grow your brand and go paid, it’s at that time you will realize you have to start over, move your content, inform your readers, optimize your website from scratch and stress yourself unnecessarily.
So skip the extra work and start with a firm footing by going paid and creating a professional website that your visitors can be proud of and associated with your brand.
What exactly is Hosting?
All websites must be kept somewhere on a computer that you could very well run at your home, but it would cost you allot as that computer would have to be on 24/7 to ensure that users can access your website. Now think of the electrical cost associated with the process.
To make things simpler there are hosting companies that host website today for the quite a cheap price, so hosting a website does have to run your electrical bill through the roof. So using a hosting service is a win win for website owners across the globe.Plus down time and Technical issues can be handled with ease once you have a good Hosting company by your side.
Domain Name
You will also need a domain name, this is basically a unique name that users will type into the address bar to bring up your website on the world wide web. For example: www.google.com is the domain name of the worlds largest search engine and this websites domain would be: www.blogtechtips.com.
Remember that you can name your website whatever you choose once the name is available. These websites can either be a: .com,.org,.biz and so on and so fourth.
Content management system
To tops things off after acquiring hosting and a domain name you will need a content management system, and none will be able to beat the flexibility and power of WordPress. WordPress is basically an application that makes editing webpages as easy as pie. It works by simplifying the website coding process, so no need to be able to code in HTML, if you are able to use a word processing application such as Microsoft Office or Open Office then you are good to go.
Let’s Get started!
![]()
1. You first will need to choose a reliable hosting service and purchase a hosting plan ,we recommend HostGator.You can get to the website by clicking on the banner above or here.
2. Once you are at HostGator website click on: Web Hosting tab and select your preferred plan:
option 1: Hatchling Plan– If you are thinking of running a single website and no more.
Option 2: Baby Plan– If you are thinking of running several websites at once with different domain names.
Option 3: Business Plan– If you have a large business or website that receive tuns of traffic.
3. I would recommend the Baby plan as while you may not be thinking of running more than one website at this time should the need arise you don’t want to be faced with the hassle of upgrading your plan.
4. Simply select your plan and specify the rate of payment you desire from the drop down menu, you can choose to pay monthly or yearly. You may have also noticed that the longer the period of time selected the cheaper the plan becomes. However most website or blog owners opt for monthly or yearly payment cycles. When you are finished click order now.
5. From the new page , where it says: Enter your domain here, type in a website name that you would like and select .com or any other extension. If it’s available or unavailable you will be told, a rule to keep in mind is that a simple modification can some times get you your desire website name, for example:
Say you wanted TechTips.com and this was unavailable you could simply modify it by adding the term “Blog” to the beginning to make it BlogTechTips.com .
6. Once your domain is selected and available complete the entire form by filling in the required particulars.
Before Placing your Order Save up to 40% off your Purchase!!
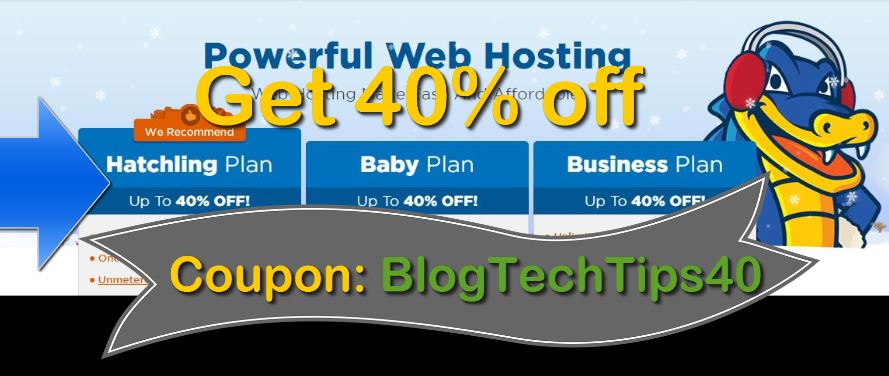
We here at BlogTechTips.com have partnered with HostGator.com to provide you with a super deal that will save you a whopping 40% off your first website hosting cost!!!
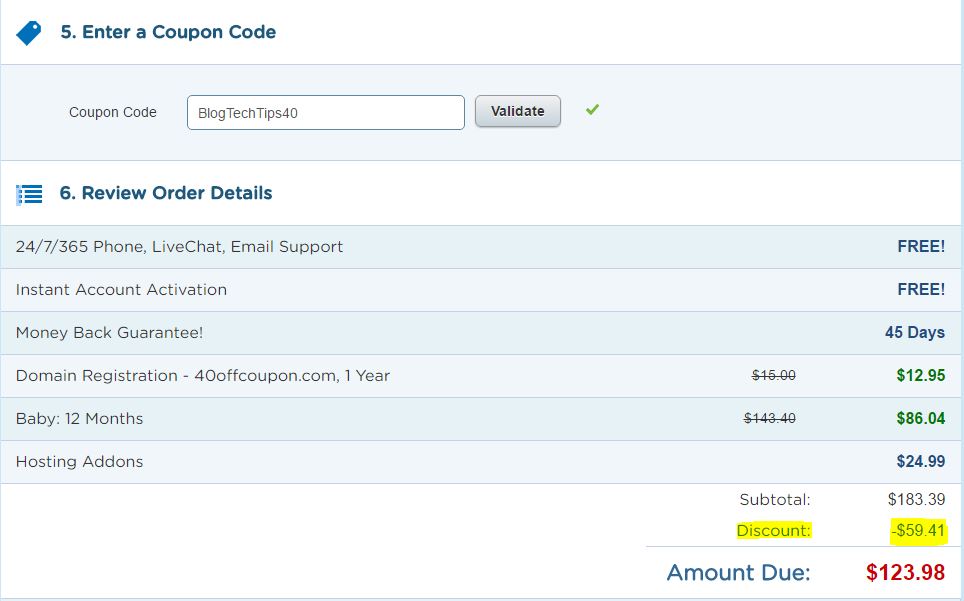
Simply replace the default coupon code in the coupon code section to redeem the BlogTechTips discount.
The coupon code is: BlogTechTips40 (Coupon Code for 40% off on Hostgator)
Be sure to copy the coupon code as given above to get the discount of a whopping 40% off your first hosting package from Hostgator.
7. Finish the process by accepting the agreement and create account. You will then be billed and you are now almost finished.
Install WordPress and launch your Website.
You are now on the home stretch after purchasing hosting from HostGator, it’s time to finish the Job.
1. Wait until you receive an email from HostGator entitled: Account Information. Simply after receiving this email log into the Control panel with the given link and password.
2. Enter your user name and password, you can do this by copy and pasting the information from the eMail.
3. Once you are in the control panel look for a banner on the left that says: Install WordPress, simply click continue in the new menu and fill out the information required on the new screen. Ensure your Admin email is a valid eMail and that you fill out the information as accurately as possible, also leave the domain URL at the default, when finished click: install now.
4. Wait for the process to complete 100% and that it you are finished, you now need to wait for a follow up email from HostGator that will give you a link to your new website and a link to the control panel for creating and editing the content of your website web pages –Congratulations you are finished!!!!
Enjoy the rest of your weekend or day if it’s not the weekend as you have just created your first blog or website.
Bonus or optional lessons:
Learn to Create Multiple Blogs or websites on the same hosting plan at very little extra cost.
Earn money from your website or Blog you have just created.
Motivation to show you whats possible


