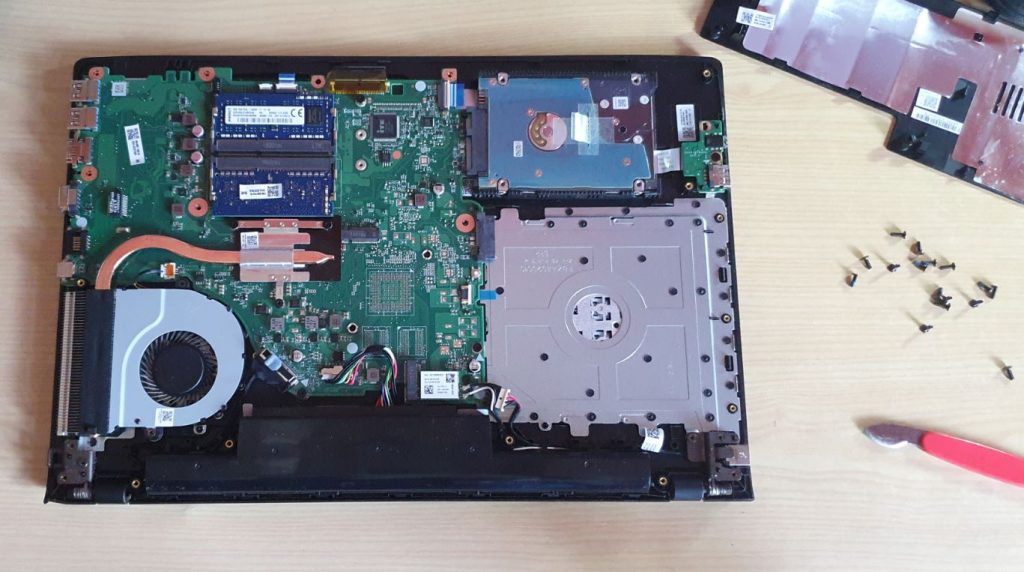
This will be a Acer Aspire Disassembly Guide that will run you through the step by step process of opening and replacing any internal parts on the Acer Aspire series of Laptops.
This guide also contains a detailed video which you can watch and follow along with. This is a ideal tutorial if you want to change your Acer Aspire Laptop Motherboard, Processor Heat sink, Processor Fan, Internal Battery or any other Internal component.
If you want to change the Hard Drive or RAM we have a separate Video on that right here.
What you will need?
For this disassembly you will need:
1.A Screwdriver set.
2.laptop opening tool set.
3.Some time and patience.
Video Guide:
Click play below to view the video guide or continue reading the written directions.
How to Open or Disassemble a Acer Aspire Laptop
We will be demonstrating using a Acer Aspire E15 Laptop as can be seen in the video above.
1.Power off the Laptop and make sure its unplugged.

2.Flip the Laptop over and remove all the screws on the back. Also remove the hatch on the back and inside the compartment with the RAM and Hard drive remove the additional screws.
3.Remove the DVD drive. There should be three (3) hidden screws beneath the DVD drive bay to the side.
4.Use the blunt separation tool to separate both halves of the laptop from the side (The Half with the Keyboard-not the screen) .
Both halves should open up. Don’t separate fully as there should be a audio cable between both halves disconnect it and the laptop will be fully opened.
5.From here you can easily change Motherboard, Battery, Heat sink and so on. Its usually as easy as removing two more screws and disconnecting something for any component you want to change.
You should be good from here, if you have any questions ask them below.
Before you Go
Please also share this tutorial on social media and do remember to check out even more of our content here on the website right now.


