So I just got my hands on a new Nintendo 3DS XL which is an awesome hand-held console that too cool. So today I will be running you through how to connect the Nintendo 3DS XL to a WiFi connection as easily as possible. So you can follow the directions as shown below and you will be browsing the internet on your device in no time easy.
Connect Nintendo 3DS to WiFi Easy
1.Power on your Nintendo 3DS XL..
2.Next go ahead on the secondary touch screen and scroll all the way over.
3.Select the wrench like icon for system settings.
4.Next choose internet settings and then Connection settings.
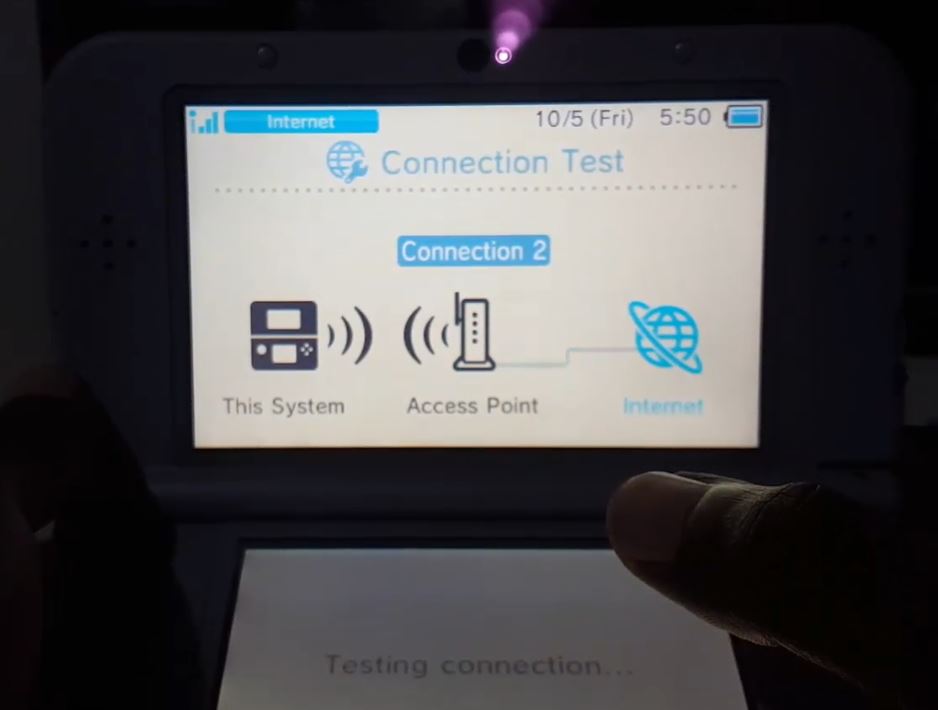
5.Finally choose new connection and manual setup.Now search for Access Point and when the search completes select your WiFi Connection and enter the password to connect. Finally once everything is finished go ahead and test the connection and when the test is passed congrats you have internet and you can now download and browse the internet easily.
Video demonstration
We try to make things super easy for you so if you can’t follow the directions above go ahead and watch this video that shows you how its done.
Troubleshooting
If for some reason you are unable to connect to the Internet after this or you failed the connection test don’t worry as I will be getting you online in no time flat. First check the following:
1.Make sure the password is correct.
2.Make sure you are connecting to the correct Internet connection.
3.If Searching does not work try Manual Setup especially in the Case of Hidden WiFi connections. It does require you know the name of the network and security key though.
If the above does not solve the problem then please read this article here that goes into detail on how to Fix Nintendo 3DS XL devices that refuse to connect to a working WiFi connection.
Final Thoughts
You know the drill as that’s it for this article on How to Connect Nintendo 3DS to WiFi Easy, so please share, comment and check out even more of our content here on the website as it would be greatly appreciated my friend.

