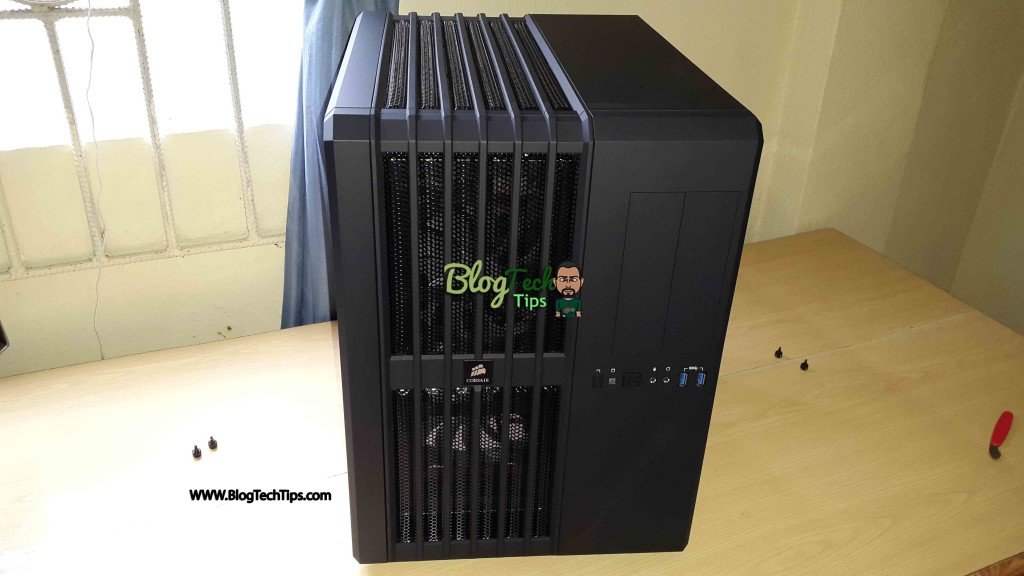
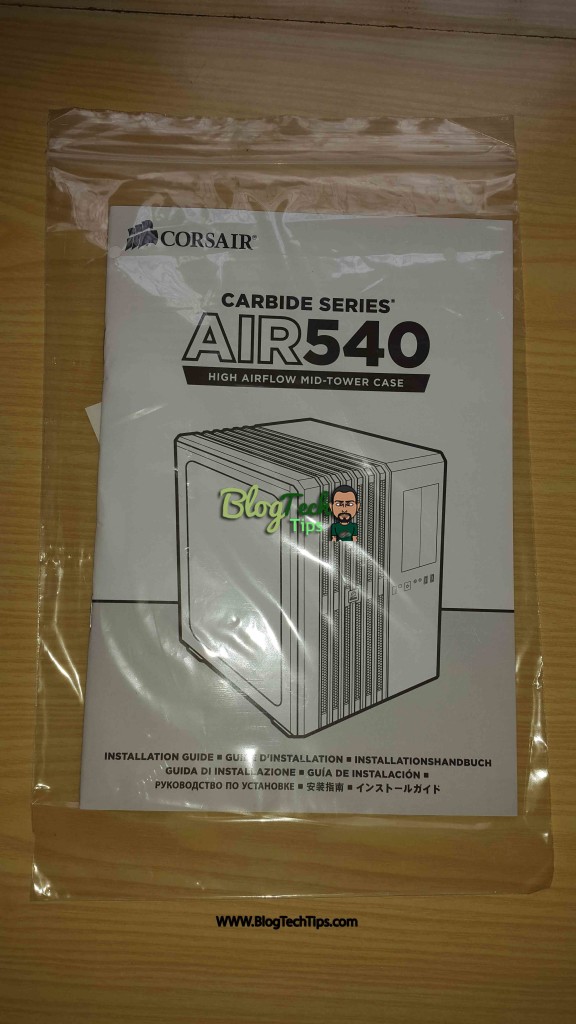
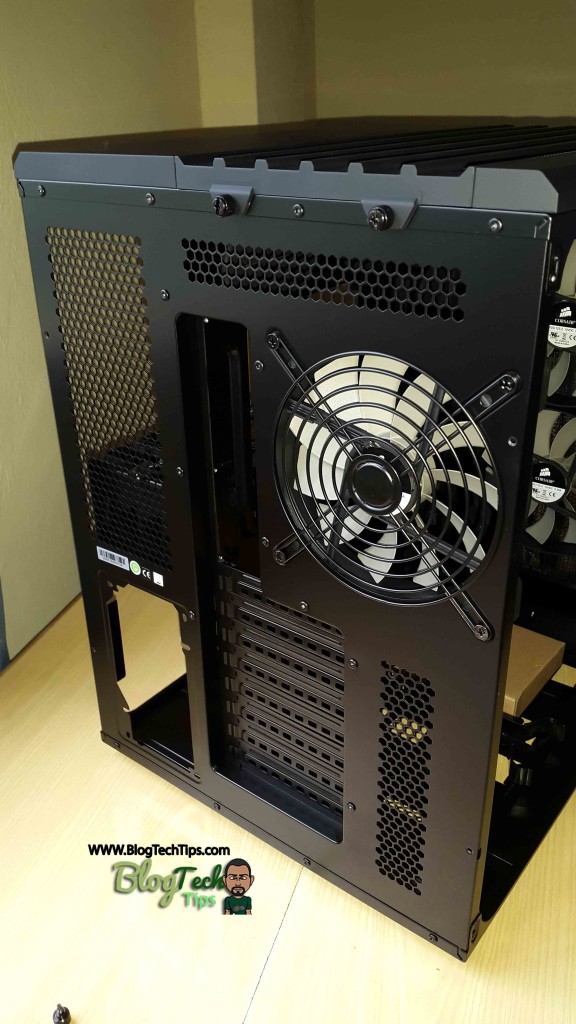
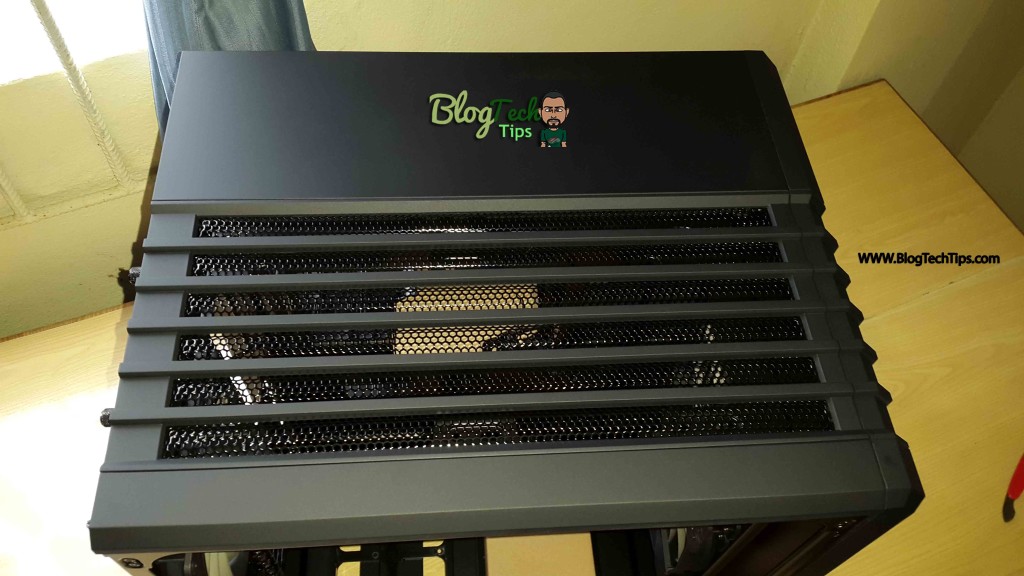
The Corsair Carbide Air 540 is my dream case and with good reason, you see I have over the years grown bored of the traditional design of most tower cases and the Air 540 is a welcomed change from that monotony. Its a fresh spin on the ATX case that takes a typical system unit and instead of towering into the sky builds along the lines of a cubed design. The cube shape is basically like having two average sized cases side to side and it works with great effect as I bet you don’t see something like this everyday right?
Functionality and design
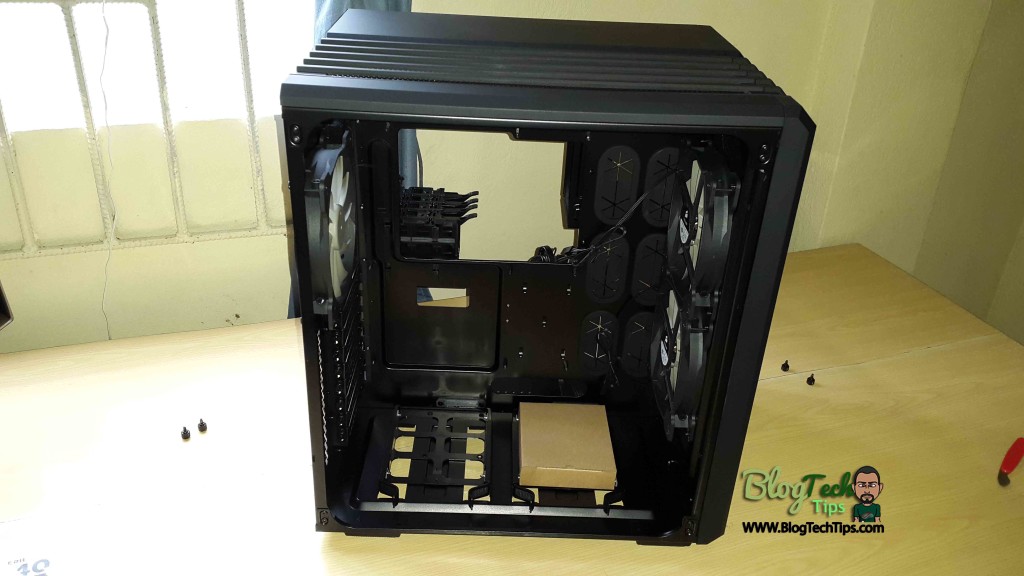
The corsair carbide series air 540 is not all looks it’s also a big serving of functionality. You see what corsair has cleverly done with this case is to separate things into two halves: you have you components in the front that need active cooling and then those that need only passive cooling such as the power supply gets placed in the back of the unit.
Beside this the case itself is a sight to behold, I always thought that for a great Gaming build to look good it had to be placed in the most humongous case I could find, but was I ever wrong about that. My finished gaming rig which I will be featuring soon had all the components fit perfectly in this case with plenty of room to spare and I am taking about full-sized components.
Cable Management
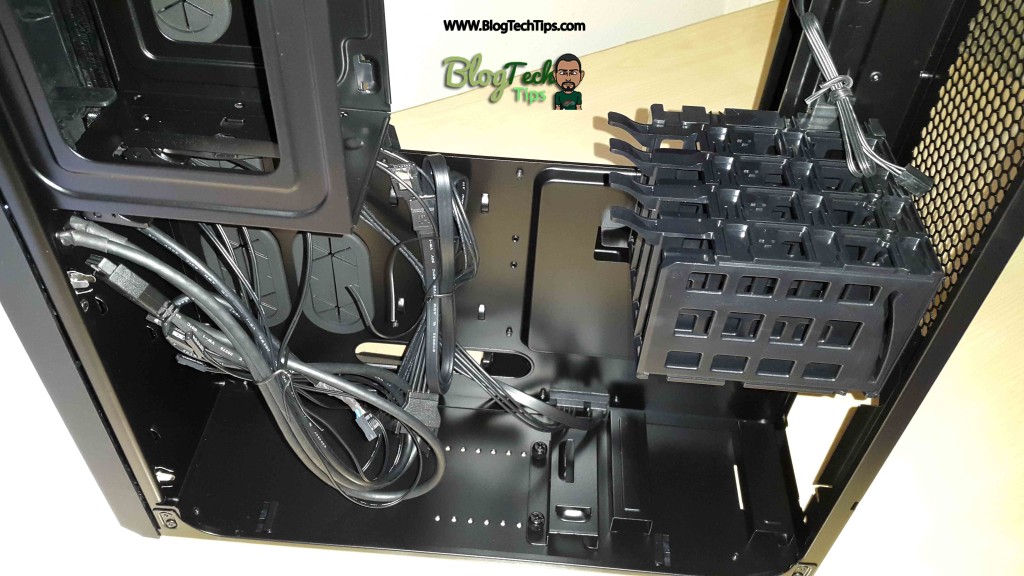
I am no expert at cable management and you should see the mess of wires hidden away in the side of my old build. With the Corsair Carbide Air 540 once I installed the motherboard, Graphics card and other components I was blown away as with little effort the cable management was Very good and it was no thanks to my skills but to the ease at which the case made fitting the components.
Major Features
I must commend Corsair on this case as it’s a magnificent case and it so attractively priced where Corsair could have easily asked for double the less than $150 price tag that’s attached. Here are the cool features that are packed in:
Dual-chamber Direct Airflow Path design for outstanding cooling potential
Clever, space-saving design still offers lots of internal volume
Includes three High Performance Air Series AF140L fans for better, quieter cooling
Tons of expansion room for high performance air cooling and liquid cooling
Full side panel window
Front dust filter
Black interior
Cable routing cutouts with rubber grommets
Let me just add that when they say that these case fans are quiet they are not joking, my old Gaming rig was so loud that visitors to the house would wonder if it was raining outside due to the hum of the fans (lol), I am serious. But these new fans are a beast at cooling and they are whisper quiet. Also the inside of the case has tons of space, so much so that you can fit any large or full-sized components. Also if you are thinking of doing a Liquid cooling custom loop then my friend you have just struck gold as this baby was made for such a build with plenty of clearing at the top for radiators and space all around to fit pumps and radiators.
The side panel windows is also perfect for showing off your expensive components, its pretty wide compared to the other side panel windowed case that I have used in the past but it works with the overall design. The front fans have a nice magnetic filter which is a God send for keeping out dust out of the case and the case has some nice cutouts for cable management that padded to hide the cable work which works nice, the black interior and exterior looks great as I went with the all black version of this case but note that it also comes in : Arctic white and Black/silver for you to choose from.
Shipping and Packaging
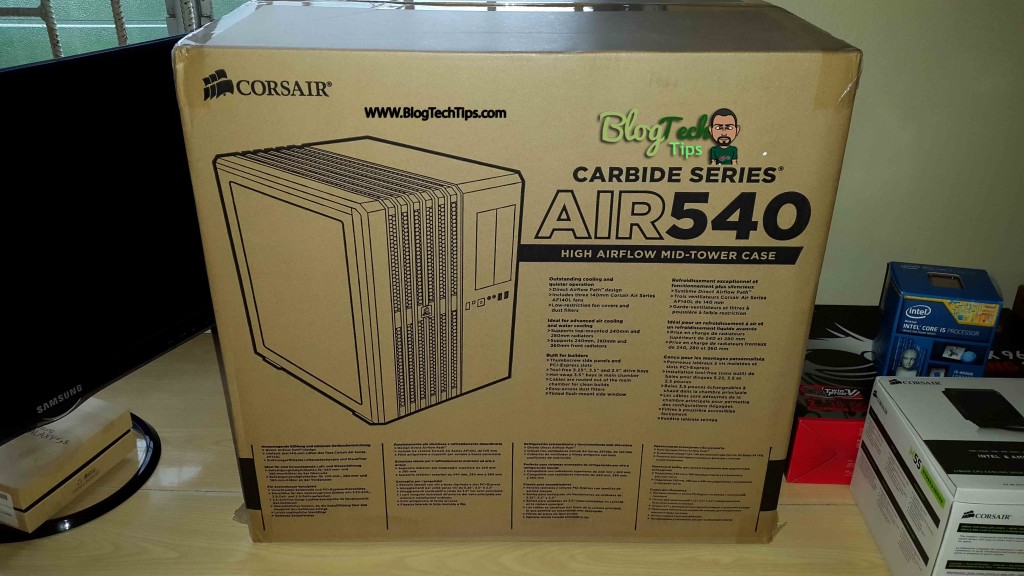
The case was nicely Packaged quite nicely in a brown surfaced box with a detailed breakdown of the case drawn on the surface, its was not as colorful as some case boxes but that not what we buy a case for after all so this was not a bother. The packaging material was adequate in protecting the case and it arrived in perfect condition and without scratches. What I also really liked is that the case was sealed in a light thin cloth like black material that protected it from scratches even inside the box and it was surrounded by packaging foam at all edges.
Hard Drives in the Hotswap Bays not being Detected issue and Fix
The only issue that I had with this case was with the Hotswap bay at the bottom of the case that are meant to hold two Mechanical Hard drives or HDD’s. The issue was that after the build was finished and windows was installed I noticed that neither of my drives showed up in the system despite being connected and I was unable to get them to be detected. Now I am sure someone else who buys this case will encounter this issue which is a very small design flaw or should I say its an issue that’s bound to happen to others that purchases this case.
The Fix: To make the drives detect you simply need to Apply force and push them in all the way. They may seem like they are in but they are not press them hard until you hear a solid click. That was it and just in case double-check your SATA connections and make sure they are all the way into the motherboard.
DVD Drive not Fitting into the bay
This is another less likely issue but I see where it could be an issue, the case comes with two vertical drive bays, when installing a drive you may find that it becomes stuck when inserting and then it protrudes out the front without going all the way in. To fix when it becomes stuck from the inside of the case you will notice that there is a bump at the back of the drive bay right where it ends there is a rounded off end,to get it all the way in angle the drive upwards by pushing up from the back while pressing down on the drive from the front this will lift the drive a bit then you simply push forward and it will move over the bump.
Helpful Tips
1. When working on the Motherboard, especially installing a backplate be sure to remove the SSD drive rack at the back, the entire section can be removed and will give clear unrestricted access to the motherboard.
2. If you are using a Corsair Liquid cooler a great place to install it is in the top left and set the coolers fan to push hot air outside the case despite Corsairs recommendation that you do the opposite, that’s with the sticker on the Corsair fan pointing up or look at the air flow arrow on the fan.
3. The SSD cages at the back can snap together like a jigsaw puzzle so you can detach or attach them as you like.
4. The Power supply cage at the bottom is adjustable and you can simply move the rail at the base to match your power supply size. To get a power supply into the slot you may need to position it and then squeeze it into place, it’s a tight fit but it will hold its like this to ensure that the case power supply does not vibrate and cause the case to be noisy which works great.
I hope you enjoyed our review of the Corsair Carbide Air 540, God know I enjoyed putting this article together, when I find a great piece of hard ware it hard not to sing its praises and want to share it with others as I have done here, if you are interested in getting this awesome and affordable case at the lowest prices available then check out the buy it now button below for the best price available.

