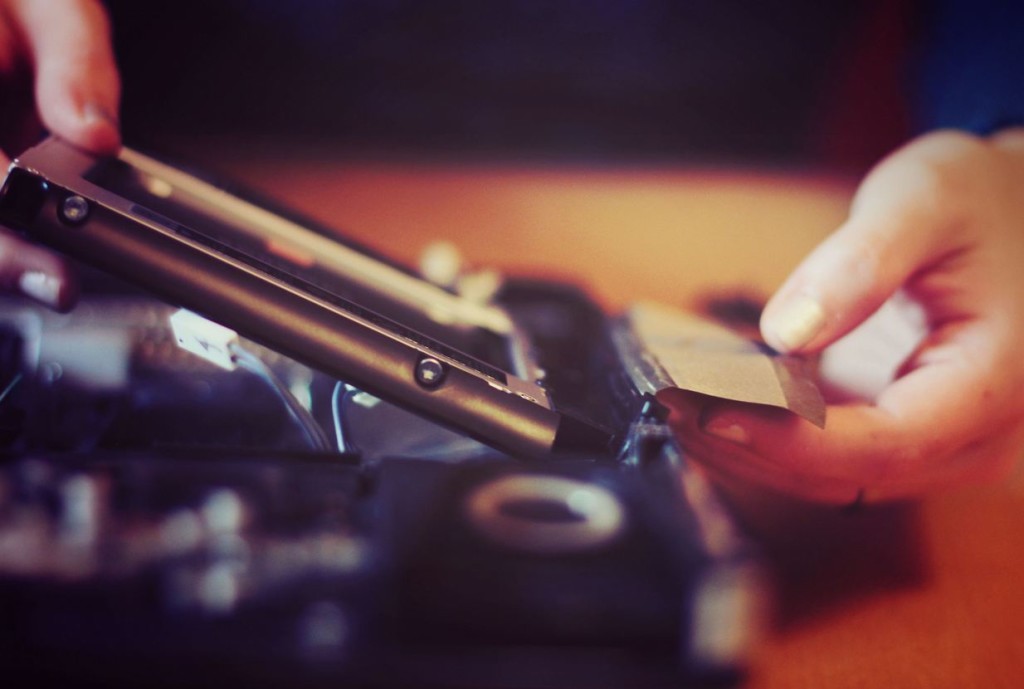
You just got to love Hard drives they are the heart and soul of a computer but every now and again the need arises to perform a Laptop hard drive replacement as an upgrade or because your drive has failed for some reason. If it’s a easy access model laptop then replacement is a simple matter of opening two screws on the back and replacing the drive, but if you have an internal hard drive then things get a bit more complicated and that’s why I have created this guide to show you how to replace a Hard drive or SSD in a laptop that has its drive deep within the laptop and involves you disassembling your laptop to replace the drive.
Replace Laptop Hard Drive with SSD or HDD
If you are seeking to replace your Hard drive as we mentioned above we will give you a step by step details in the video below, and remember that while your Laptop may be slightly different all Laptops work in a similar way and you should be able to use the video guide in your situation even if your model is not exactly as the one shown in the video:
Reasons for Performing a Laptop Hard Drive Replacement
1. Your old Hard drive is dead or has crashed.
2. You need an upgrade of storage to a larger capacity Hard drive.
3. You want to replace laptop hard drive with SSD for faster speed.
4. You want to replace the Hard drive just because you can or want to learn how to 🙂
Whatever the reason this guide will help you.
Things you will need
To perform this procedure you will need all the following:
1. A Laptop Hard Drive or a SSD drive
2. Philips screwdriver (Computer tool set)
3. Pair of forceps
Breakdown of the Laptop hard drive replacement procedure
Make sure that you have all the tools above and watch the video above as this is a simplified version in written form:
1. Power off the Laptop flip the unit over, remove the battery and begin to remove all the screws from the back of the unit.
2. Once all screws are removed slide the CD/DVD drive from the cradle its set in and look beneath the slot it was in for some hidden screws.
3. When all screws are removed flip the laptop back over and look very carefully at the keyboard, there are clips holding it in place, use a very fine tipped device to get into the grove and loosen the clips of the keyboard from one end to the next until the entire keyboard is removed. Remember do not totally lift as there is a ribbon cable beneath the keyboard.
4. Look for a black tab were the keyboard attaches to the laptop motherboard and flip the tab up, then slide the ribbon cable out. Next remove the tabs on the blue tipped ribbon cables that controls the touch pad and the power button strip of the laptop.
5. Remove the screws beneath the keyboard area and using the forceps slide it along the seams between the upper half and lower half of the laptop, the two halves should come apart easily.
6. Locate the Hard drive and disconnect any ribbon cables that might be in the area. Remove an obstacles that might get in the way that around the hard drive cage and remove the Hard drive, be sure to disconnect the drive from the motherboard.
7. Screw the old drive from its cage and place the new Hard drive in the place of the old one. Now reconnect the Hard drive to the motherboard and do everything that you just did in reverse to re-assemble the laptop and that’s it.
Remember that now that you have installed a brand new Laptop Hard Drive you will need to install windows on the drive, I suggest that you try using this easy method of installing windows from a Flash drive and with newer Laptops we have discovered that there is a settings you will need to change in the UEFI or Bios to be able to install windows or you will be unable to run windows on your new drive.
For one detailed guide with video on installing Windows on a new drive read this post that contains detailed video guide to make things easy for you.
See that was not too hard was it? congratulations on performing a Laptop Hard drive replacement my friend, I would like to know of things went please leave a comment below detailing your experience.


RICARDO, YOUR TEACHING SKILLS ARE WONDERFUL, I UNDERSTOOD EVERYTHING YOU TAUGHT AND WILL BE WATCHING THIS A SECOND TIME BEFORE I TACKLE THIS INSTALLATION, THANK YOU AND GOD BLESS IN JESUS’S HOLY NAME !
Thank you very much.
HI RIcardo, Love the video. Very well explained. If I wanted to replace my 669299-001 / 666288-003 500GB SATA hard disk drive with a Hewlett-Packard (HP) 676521-001 – 1TB 5.4K RPM SATA 2.5″ Hard Disk Drive (HDD), would it work? Thanks alot!!!
It will work as long as the drive being replaced is the same size 2.5 inch and the interface is the same that is SATA.
Where did you buy the replacement hard drive?
I bought it from Amazon.