In the very near future PC’s will not be run any more on Air cooling but will be cooled totally by water cooling. For someone who is new to water cooling or liquid cooling it might seem very scary to think about adding a liquid inside your PC to keep it cool, after all the old saying: “Electronics and water don’t mix” as always proven to be true and we all know that even as little children. We are here to provide you our readers with a comprehensive PC water cooling guide to answer all your questions on water cooling and guide you to creating your own water cooling loop.
Rest assured that beyond a few concerns Water cooling can be a fun a rewarding hobby with benefits that outweigh the few drawbacks. In the long run if done right you may even prefer Water cooling your Personal Computer or gaming rig over others methods. I have been liquid cooling my PC’s for over three years and I have had no issues what so ever with leaks or other mishaps.
What is PC water cooling?
PC water cooling is the art of transitioning your PC Away from traditional methods of air cooling with the use of Fans to keep the components cool to using liquids such as water and other fluids that have a higher heat carrying capacity and that’s more efficient at keeping your PC cool.
Also often refereed to as liquid cooling the PC is fitted with a:
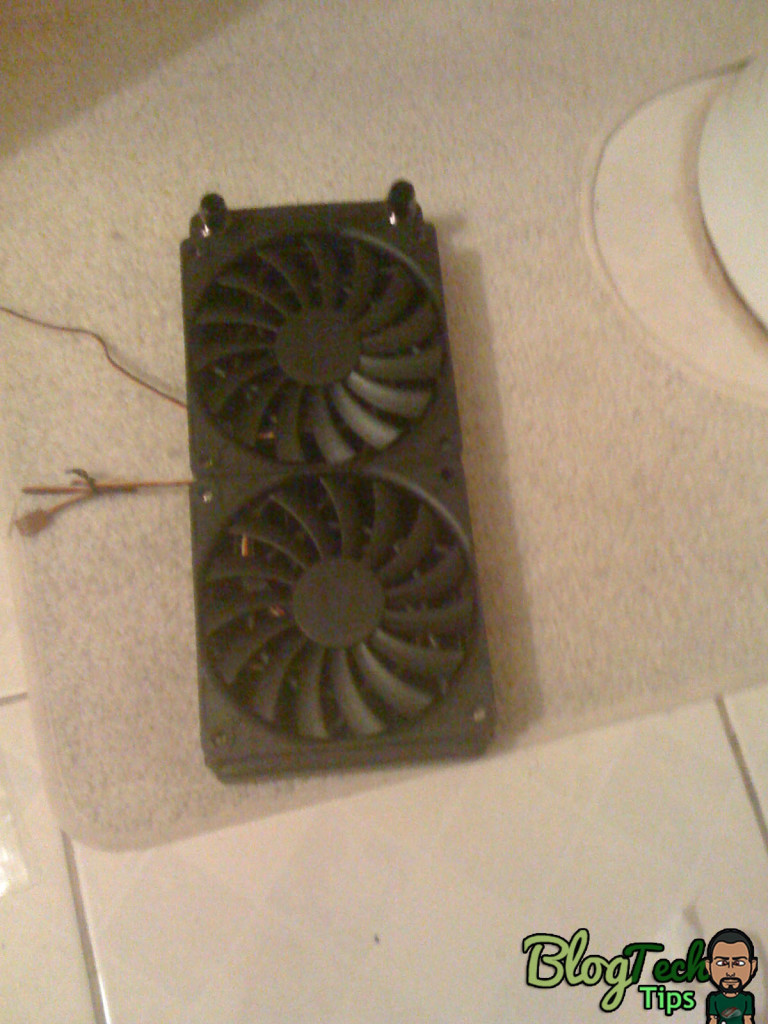
Radiator
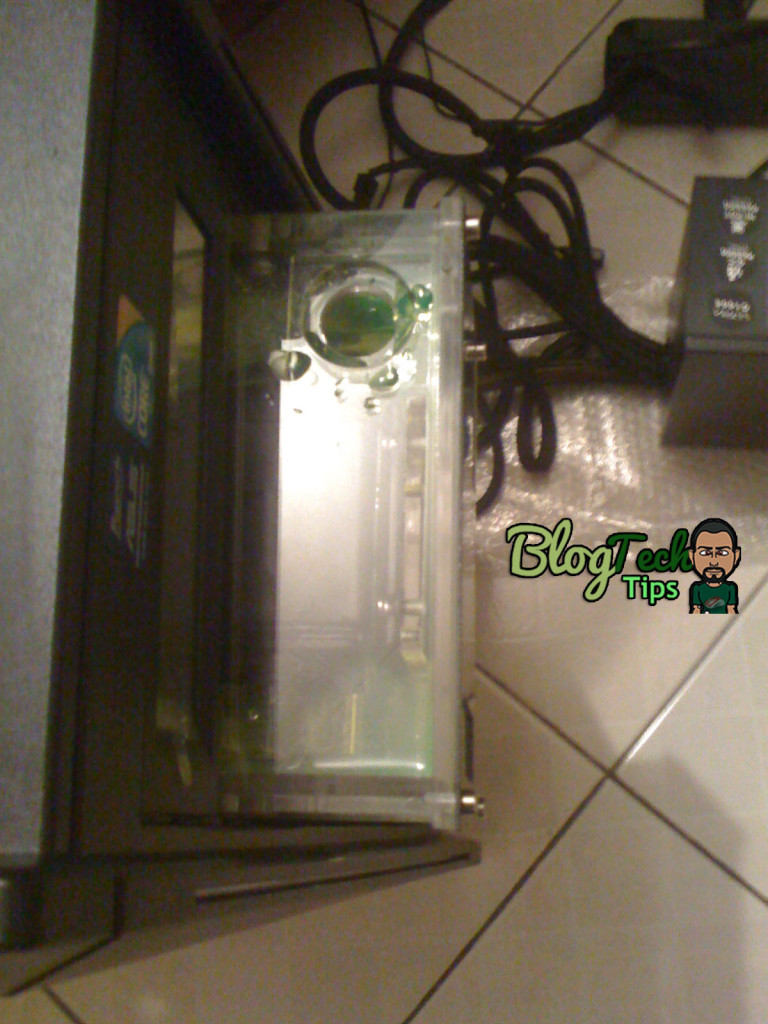
reservoir
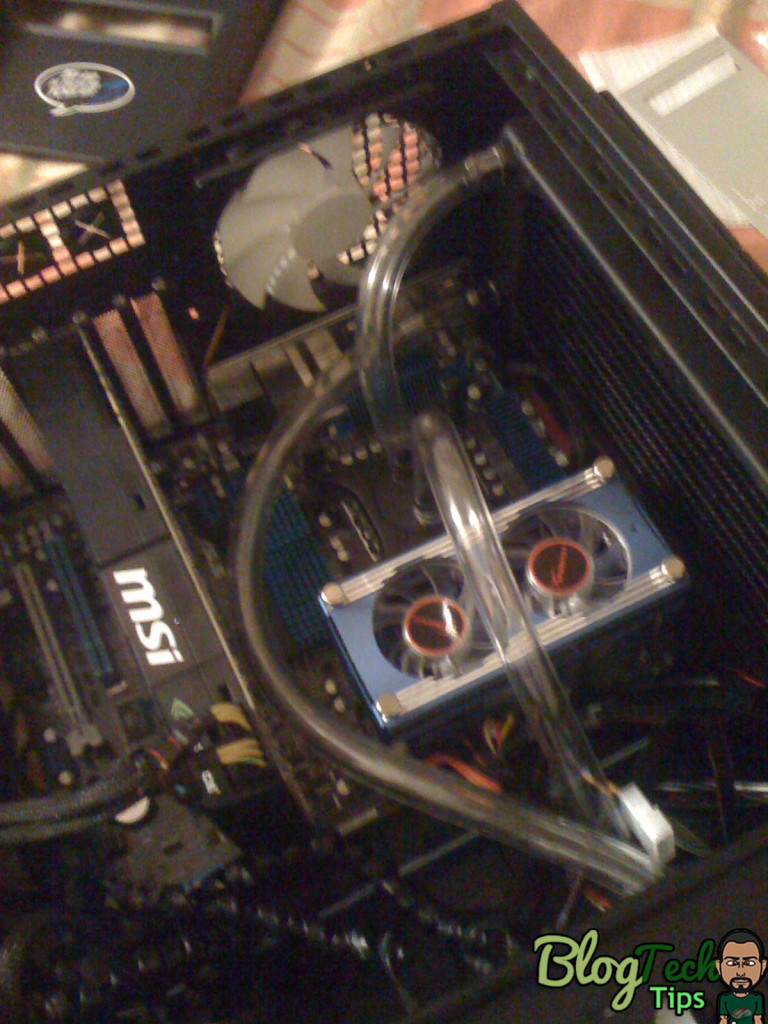
A CPU block
Rubber tubing
and liquid
somewhat like the cooling system of a car if you really think about it.
Why water cooling?
Good question, well for one its super cool and can take your PC to the next level, its ideal for overclockers who are always pushing their systems to the limit. If you are a PC enthusiast this is one of the coolest things you could think of doing to your Gaming or entertainment setup.
If your PC runs hot and is on for extreme lengths of time and traditional cooling is not cutting it then Liquid cooling may be your only hope.
Disadvantages of water cooling
There are very few disadvantages and the benefits outweigh the potential dangers, best of all if you are careful and follow the principles you can mitigate the risk and reduce them significantly.
So here are the disadvantages:
1. It can be very expensive
2. There is a possibility of spillage which could ruin your components.
Things that you will need:
1.
XSPC Raystorm 750 EX360 Universal CPU Water Cooling Kit (New Rev. 4 Pump Included) w/ Free Dead-Water!
total customer reviews…
2.
Feser One Non Conductive Cooling Fluid – 1000 ml – UV Acid Green (F1-0033)
total customer reviews…
3.
PrimoFlex Advanced LRT 3/8in. x 1/2in. Tubing (10ft pack) – Brilliant UV Blue
1 total customer reviews…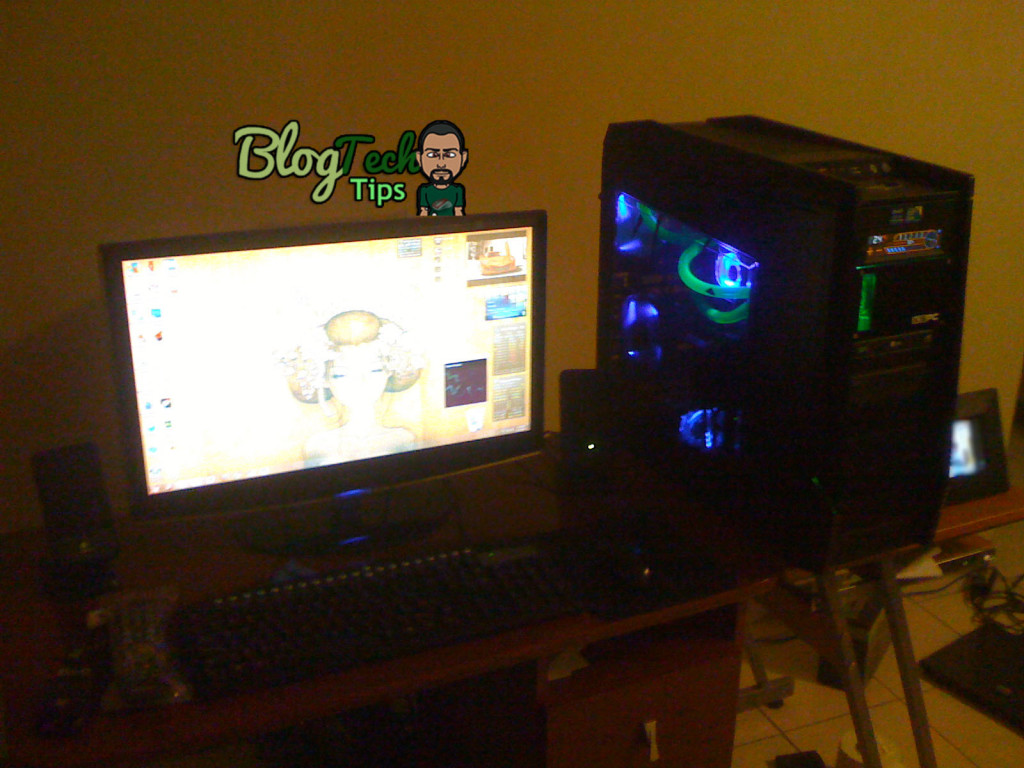
4.
PrimoChill PrimoFlex Advanced LRT 3/8in.ID x 5/8in.OD Tubing- Crystal Clear (10ft pack)
3 total customer reviews…
5.
Silver Coils – Antimicrobial .999 Fine Silver Strip
21 total customer reviews…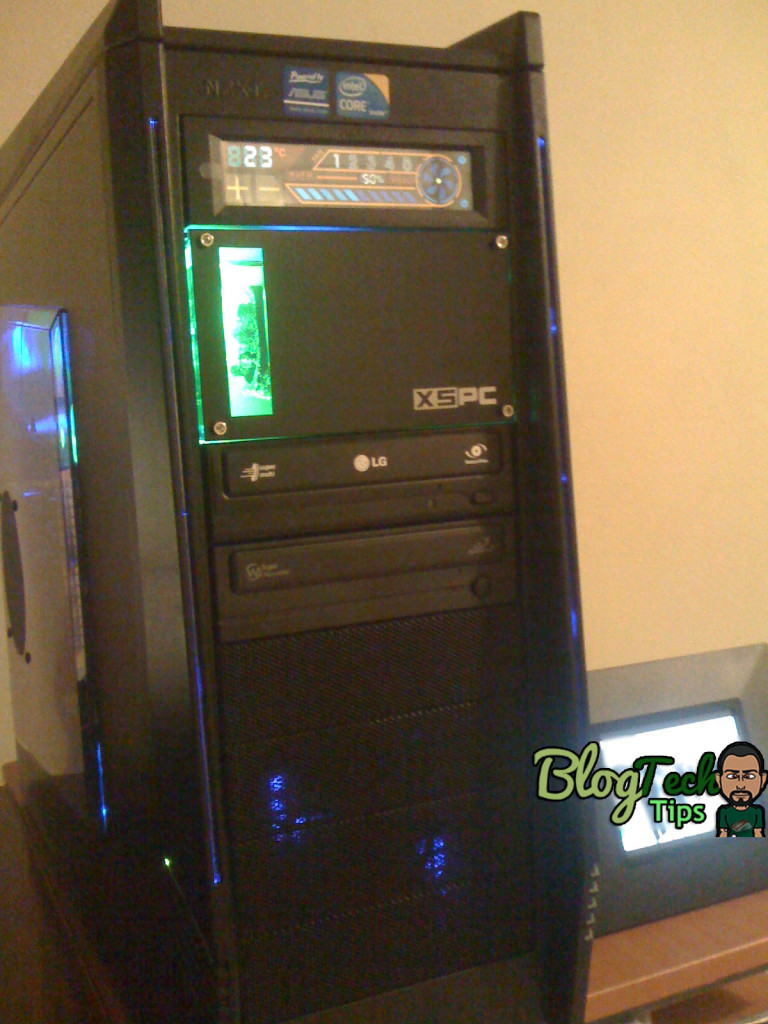
6.
XSPC 3/8″ x 5/8″ Compression Fittings with G1/4″ Threads (Black Chrome Finish)
2 total customer reviews…
7.
Logisys CLK12 12″ Cold Cathode Kit with Dual Tube, 3.0mm Tube Diameter, UV
96 total customer reviews…
8.
PrimoChill Anti-Kink Coils 3/4in. – UV Blue
1 total customer reviews…
9.
Arctic Silver 5 Thermal Compound 3.5 Grams
1,178 total customer reviews…
10.
Feser One – NON-UV PURE – Non Conductive Coolant 1000mL 4260119640320
1 total customer reviews…
11.
Hanna Instrument HI70436 Deionized Water, For Titration, 3.78 Liter Bottle
2 total customer reviews…
Lets Start Building
I have made a detailed list of all the items that you could possibly need in order to complete this build along with some extra items should you need to put your own unique twist and customize your water cooling loop to your own liking. First of all the main component that you will need is the Raystorm XSPC 750 EX360 which is basically a kit that contains all the main components that you will need to start your loop. The kit by itself can do the job completely but I recommend that you change out a few components to make things more secure and way more flashy to boot.
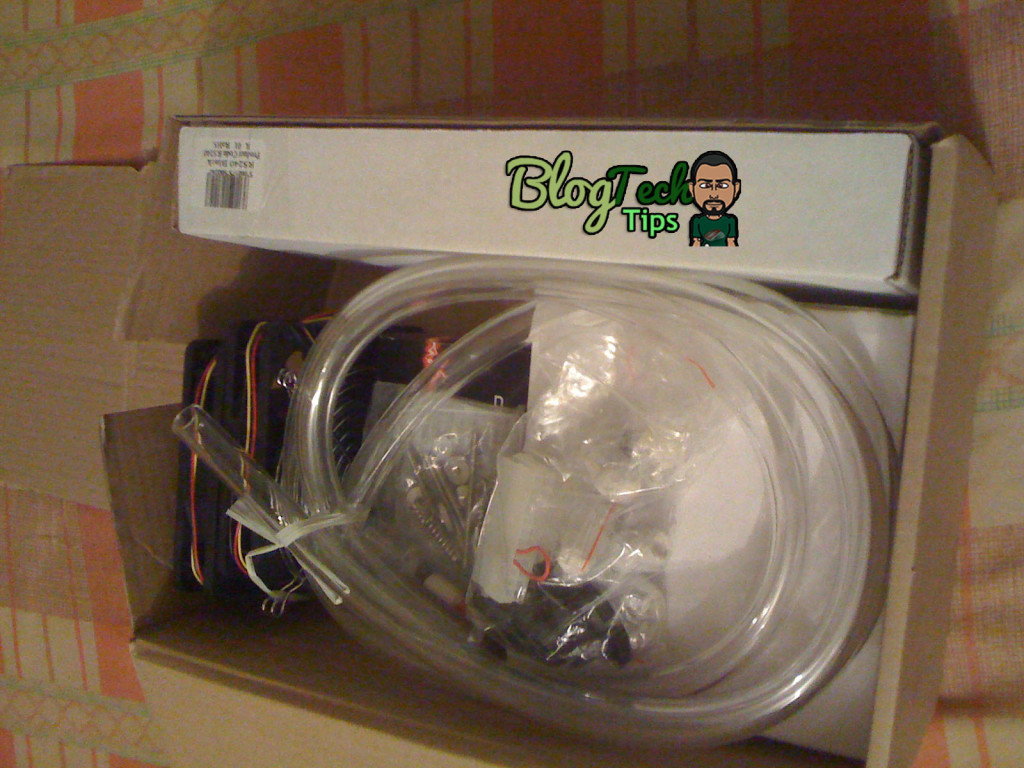
UnBoxing the Raystorm XSPC 750 EX360
The guys over at XSPC did a great Job in including all the components in this kit that include: Fans, reservoir, clear tubing, Fan grill, radiator, thermal compound, fittings and much more. But we recommend that you get the additional components from above based on the type of loop that you want to design. Your choice of loops styles include:
1. The default loop with the components as shown above with either:
a. Deionized water (Water color Look)
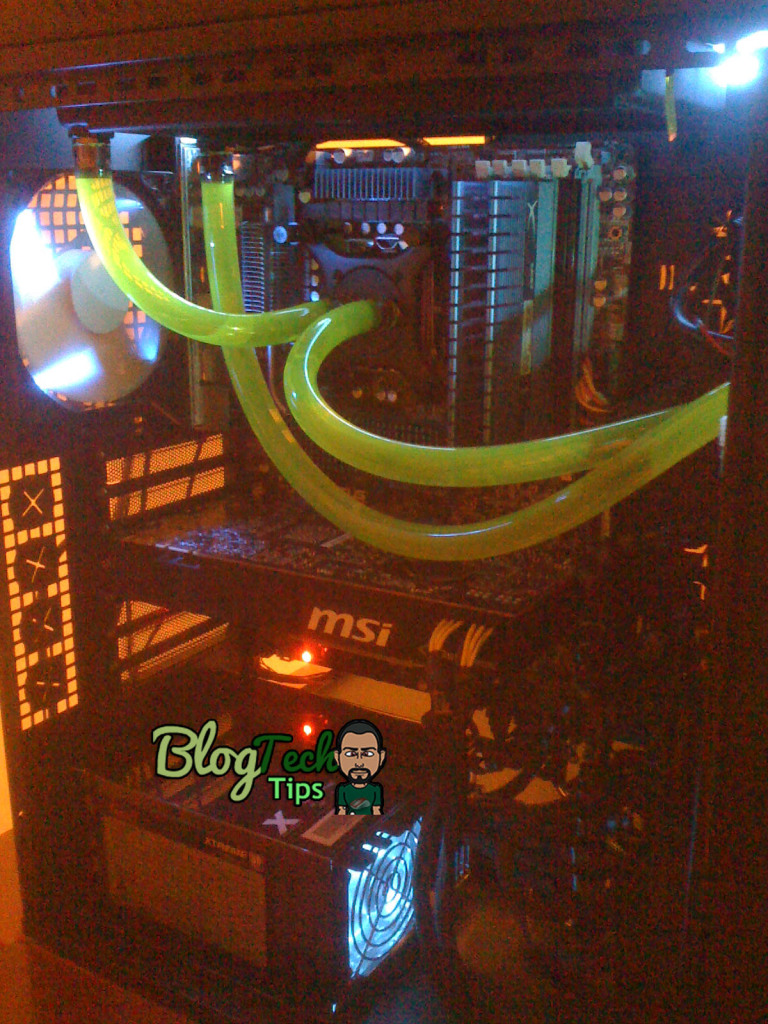
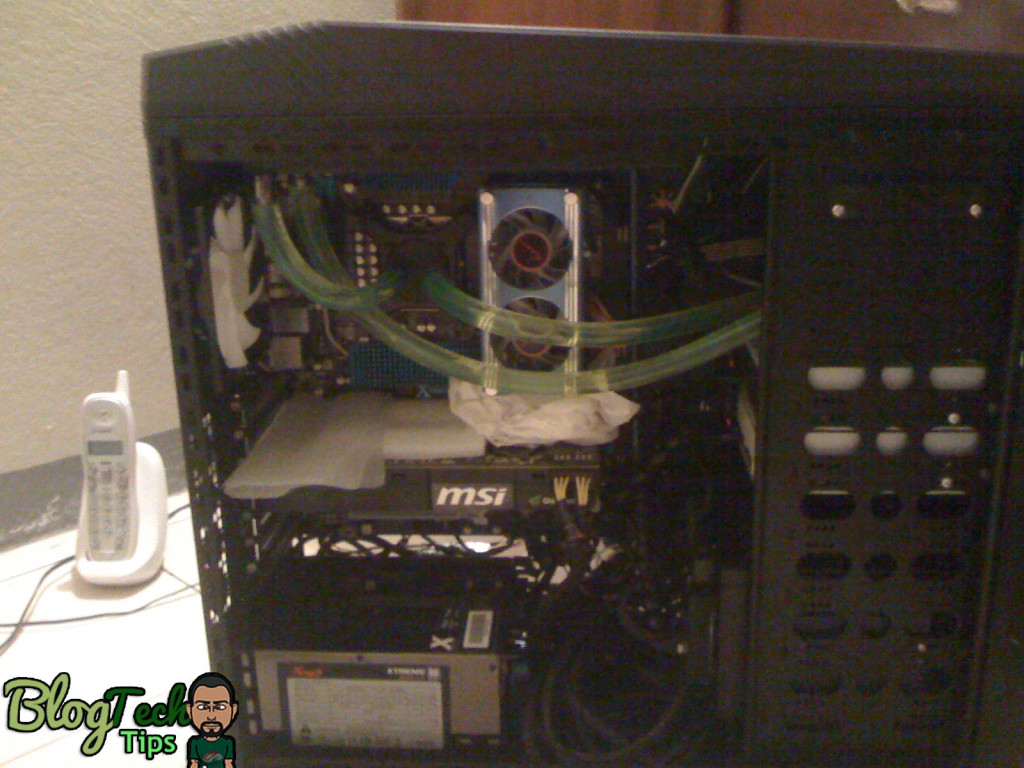
b. Colored look with Green Radioactive appearance as my Gaming Pc or you can choose your Color.
2. Colored tubing In which case the color of the liquid inside will not matter with Anti-kink coil raping on the tubing.
Your choice should be based on personal preference so choose the relevant components from above to go with your chosen loop style.
Special note on some of the items listed:
- If you choose to go with the Color look which is the best choice I recommend that you choose Feser One as it is non conductive in case of spillage and may save your components in a worse case scenario. You even have a clear version of Feser One, so Feser One is the recommended liquid for filling your loop, and the XSPC kit does not come with any liquid so you will have to decide on your own which will work best for you.
- If you want to go the other route you can use regular deionized water but if you use that to fill your loop you will need silver coils to place in the reservoir to prevent algi formation which is bad for a loop and its flow.
- Also Anti-Kink coils are great for preventing tubing from becoming crimped and cutting off the flow especially when making tight turns in the case.
- Choose a XSPC kit that fits the current case that you have. For example if it’s a triple radiator make sure that your case has fan spacing of the same size and amount lined up to hold this radiator.
- For the tubing, always match the tubing to the dimensions of your fittings eg. 3/6 in x 5/8in fittings will only work with matching sized tubing so keep that in the back of your mind.
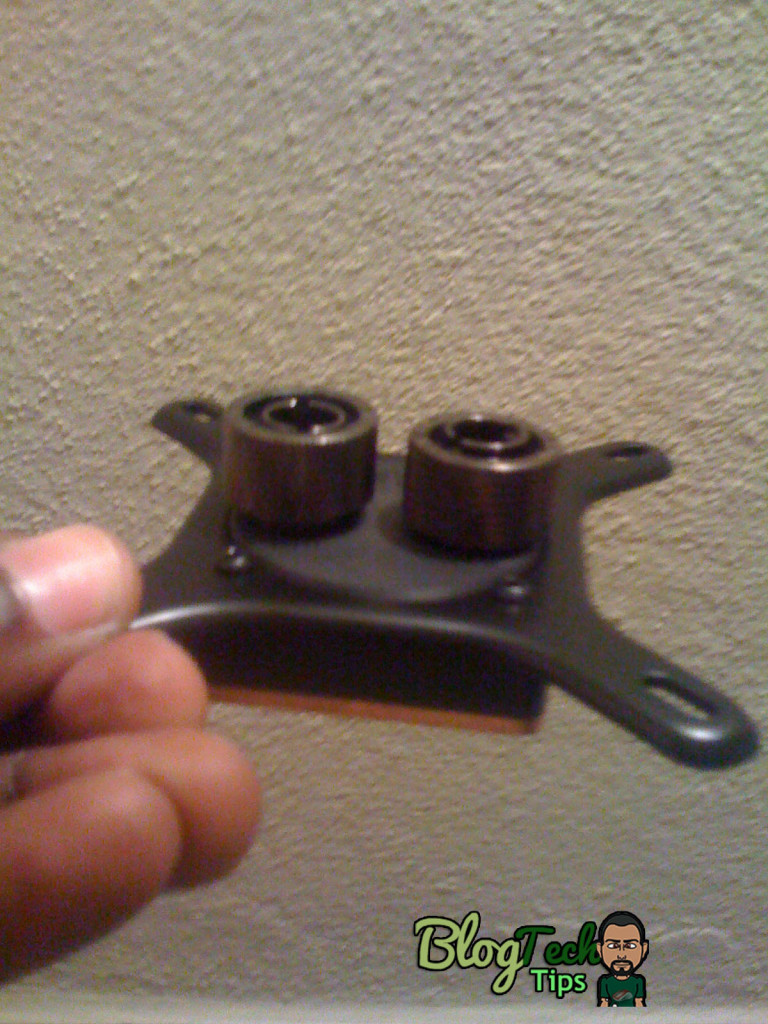
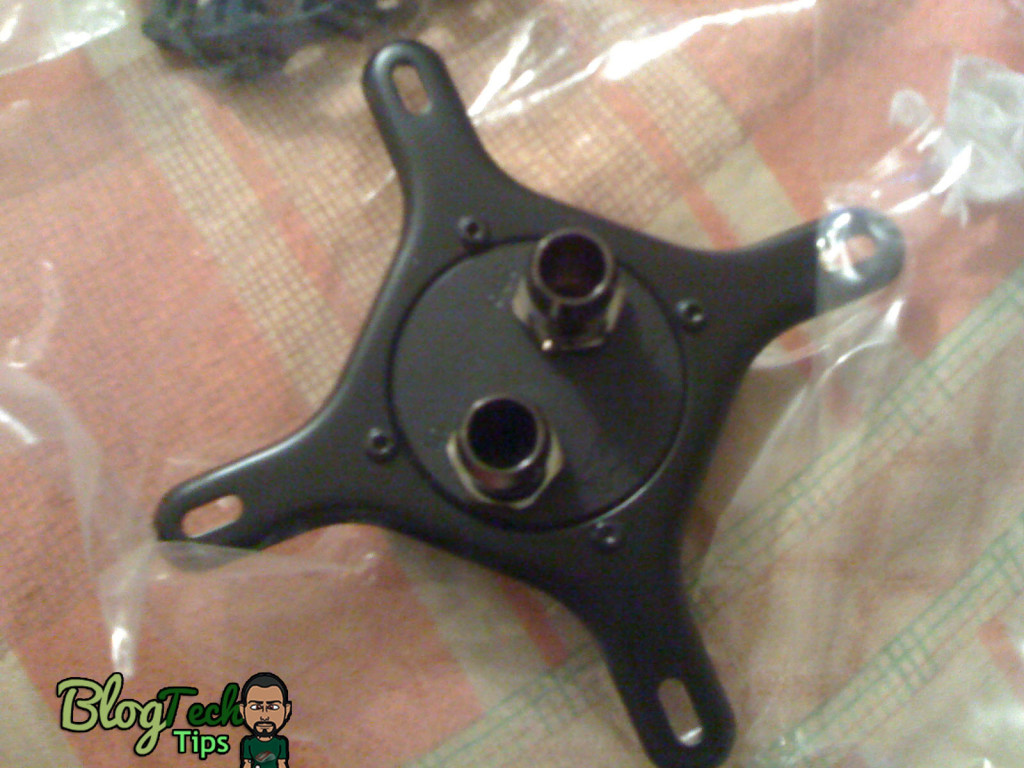
Step 1: Layout all the components of the kit on a flat surface or work bench and organize each piece by itself. Start with the CPU Block and take the XSPC compression fittings (Item # 6 above) and crew it into the CPU Block, by default there is a set in the kit but in my experience the ones I recommend look nicer and give a better fit and they have their own screw on cover. Make sure that all two go in, you will need a total of four, two of which go into the CPU block.
Step 2: Screw the other two (2) compression fittings into the Radiator. Next Flush the reservoir, tubing, and radiator with distilled water, this will remove any lodged particles from the manufacturing process. Make sure to thoroughly flush them out. Also mount the Cooling Fans on the Radiator be careful to use screws that are the right length, too long and they will bore the radiator, you can always do a quick estimated measurement to see before screwing them in.
Step 3: Next prepare the case, be sure to first install the radiator by screwing it into place and then place the reservoir into the DVD drive bay on your PC, it will take up two slots. Next install the CPU block I recommend that you use Arctic silver 5 thermal compound, once everything is in place move on to the next step. Also place the Reservoir into the DVD drive bay, it should occupy two slots.
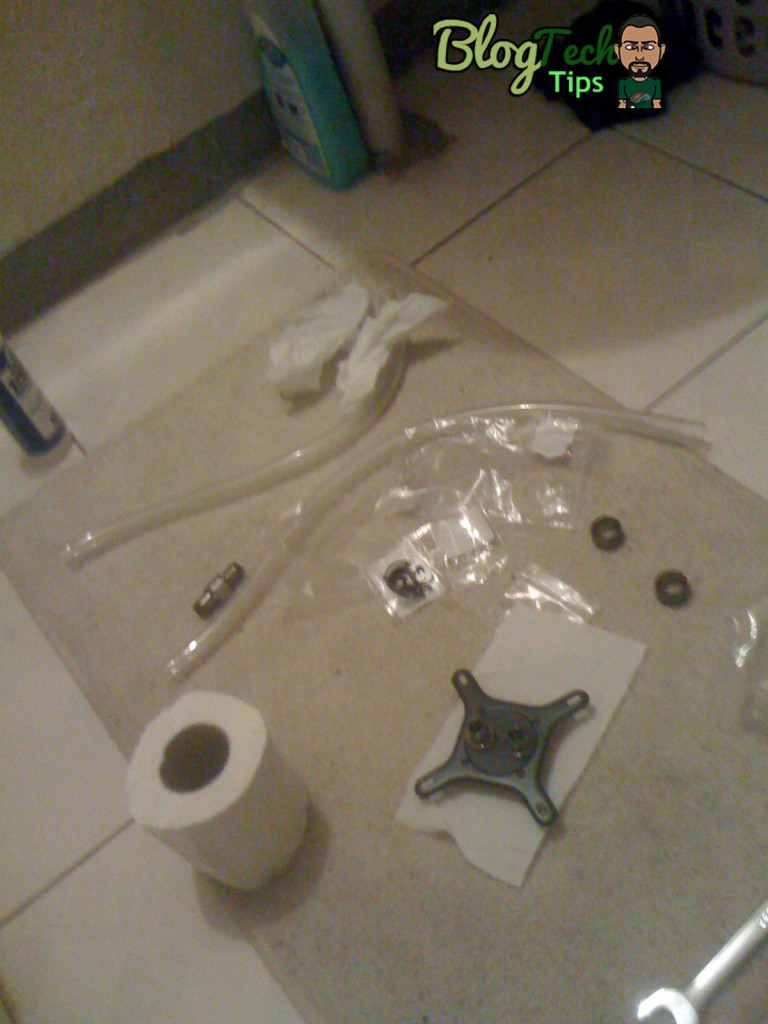
Cutting and assembling the tubing
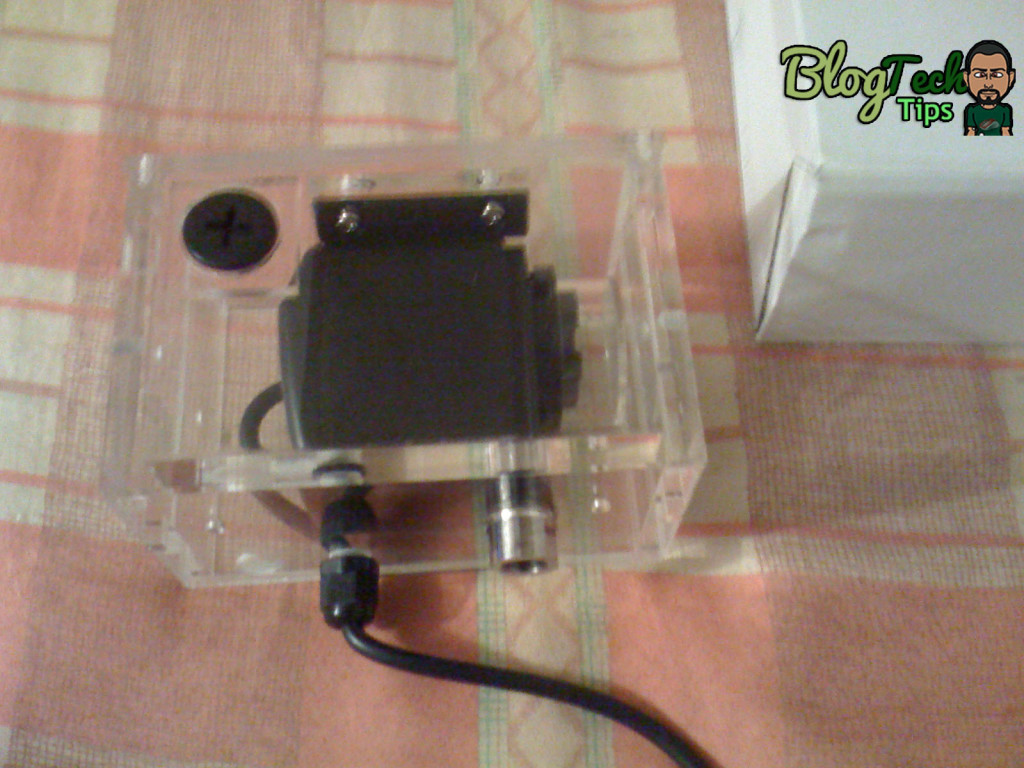
Pump and Reservoir combo
Step 4: You now need to measure and cut the tubing accordingly, a very sharp knife will do the trick. One piece of tubing should lead from the CPU block to the radiator and then the other from the CPU block again to Reservoir, from the reservoir to the last open end of the radiator to close the loop. Be sure if you are using my recommended compression fittings to slide the screw on rings over the tubing before making the connections. Once you have measured and cut your tubing to the required lengths, add your Anti-kink coils if you are planing to use them and get some warm water and dip each end of the tubing in the warm water and then fit the tubing over each compression fitting, the warm water makes the tubing soft and easier to slide over the fittings. You will also need to connect the reservoir (with pump) to the power supply and jump-start it later when I indicated.
Step 5: Be sure to check your work to make sure that everything is snug and tight. Next you will need to fill the loop with your choice of liquid in which case you will either have to go Feser One (Item #2 or 10) or Use the Deionized water with the silver coil (Item #5 and #11) as I explained above. For the sake of this article I will use the Feser One UV Green to explain, so you will need to open the Reservoir that was installed in the DVD drive Bay and fill it with the Feser One liquid, during this time you will have to tilt and rock the system to get it into the tubing and when you cannot get any more in you will have to turn on the power supply now by jump starting it just for a few seconds to get the Liquid flowing and filling the loop a bit more.
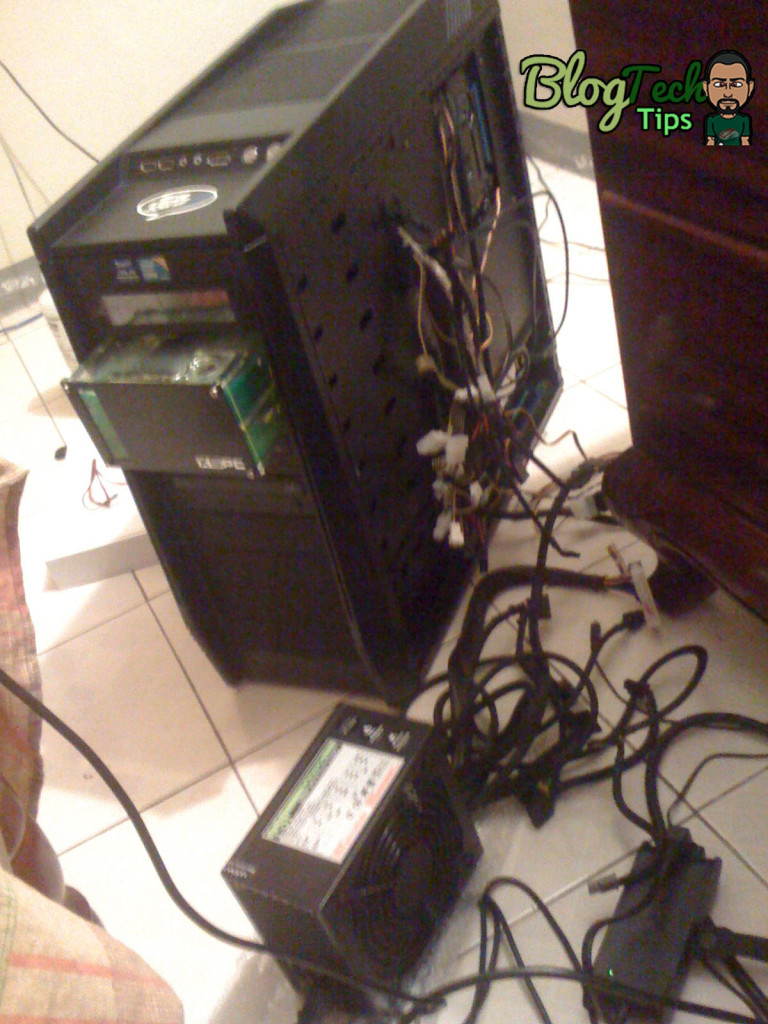
To jump start the power supply simply get a paper clip and find the main 24 pin power connector for the Motherboard and run the paper clip from the Green to any black wire by sticking the paper clip into the opening of the leads on the power supply connectors, when ready simply plug the power supply in and flip the power switch at the back of the Power supply on, if the pump is connected it will power on, flip the switch off again to power it down.
You will need to add more liquid and keep powering the pump and reservoir combo on and off until the loop and reservoir is completely filled. Next simply rock the case to free air bubbles and I recommend that you leak test over night by keeping the pump ruining and the liquid cycling through the loop with the method used to jump start the Pump earlier and watch for leaks throughout, if there are signs of a leak power down and fix the issue.
If the setup lasts the night with no problems then you are good to go my friend.
Step 6: You will now need to Finish constructing or Reassembling your PC by Fitting it all together again, so power supply hardrives and the works need to be put back together and when finished boot up your computer as normal. You are now the proud owner of your own Water cooling or Liquid cooling loop for your PC, congratulations.
In case You wanted to see what the Colored Tubing with Ant-Kink coil looked like
In case you were going for the colored tubing with Deionized water and you would want to know how that setup would look right? well we have you covered and lucky for you we have taken the liberty of doing an additional loop with those components to show you what the entire thing would look like.
So as you can see from the gallery below we used the blue tubing and as you might guess colored tubing can be as great as colored liquid or even better as unlike the UV Feser One that after a while looses its color and the UV effects, the tubing promises to remain one constant color throughout the life of the loop and will never lose its color.
So I hope that our PC water cooling guide has helped you in creating your very own custom loop that you can design as you see fit,liquid cooling can seem scary at first but after a while you learn that most of the fear is in your head and the real joy is from the satisfaction that you did this on your own and created something of beauty that will keep your Personal computer cool for years to come. We would love to help you with your next build so feel free to ask any question in the comments section below and we will do our best to answer each and every one of them.

