There is Just a great feeling one tends to get when for the first time they receive approval for Google Adsense.Today we are going to run you through some of the basic tactics that you can use to improve your chances for getting into the Adsense program. Note that things have gotten quite strict and are getting even stricter by the day, however it’s still possible for you to get in and get approved for an Adsense account.
The preporation phase for getting Approved for Adsense.
In order to get into the program make sure that you have the following pre-requites before applying, while they are basically shots in the dark as Google has not created any official check list, we have compiled the following list based on there terms of service, personal experience and Good old common sense.
Remember Google is seeking quality websites and content for advertisers to present their ads and of course the best experience for the end user that use their search engine, daily. So be sure to digest these tips well before proceeding further:
1. Be sure you have a few articles beneath your belt, about 30 quality ones will do and make sure each is greater than 400 words in length, there is nothing more annoying than skinny content and try to avoid fluff or simply placing words for doing so sake.
2. Ensure that your website is also fully constructed, unfinished pages are definitely not going to cut it.
3. Make sure you are on top of your SEO and have submitted a site map for the indexing of your content.
5. Create great content and do so consistently.
6. Have a Privacy policy, contact and about page for your readers in case they need to contact you.
7. Make sure your site structure is user friendly and well laid out.
8. Your content should be family friendly and contain no nudity or obscene matter.
9. Make your website interactive and promote user comments and interactions, this will show user activity and potential for growth.
10. Have at least 150 unique visitors or so per day before apply so as to ensure you will at least be able to generate revenue from your content.
The application Phase for Google Adsense
When you have met the above requirements then prepare to apply, if you have other Ad networks already displaying then consider disabling them for the application period so as to remove variables that might interfere with the approval process.
When you are ready you may apply for Google Adsense by clicking here and completing the application form.
Important Tips for Applicants
If you are applying from outside the united states you will still get paid, however since Google seems to think that every one has a street or apartment number you will have to indicate that you live at a apartment# 5 or house# 4 for example at the field that asks for street Address. If you don’t do this you will receive a address incomplete or incorrect notice and you will not be able to get your account authorized.
So simply add the above house number to that line of your normal address and it will go through and you may change or modify the information after approval to the way you know the address to be without a house number.
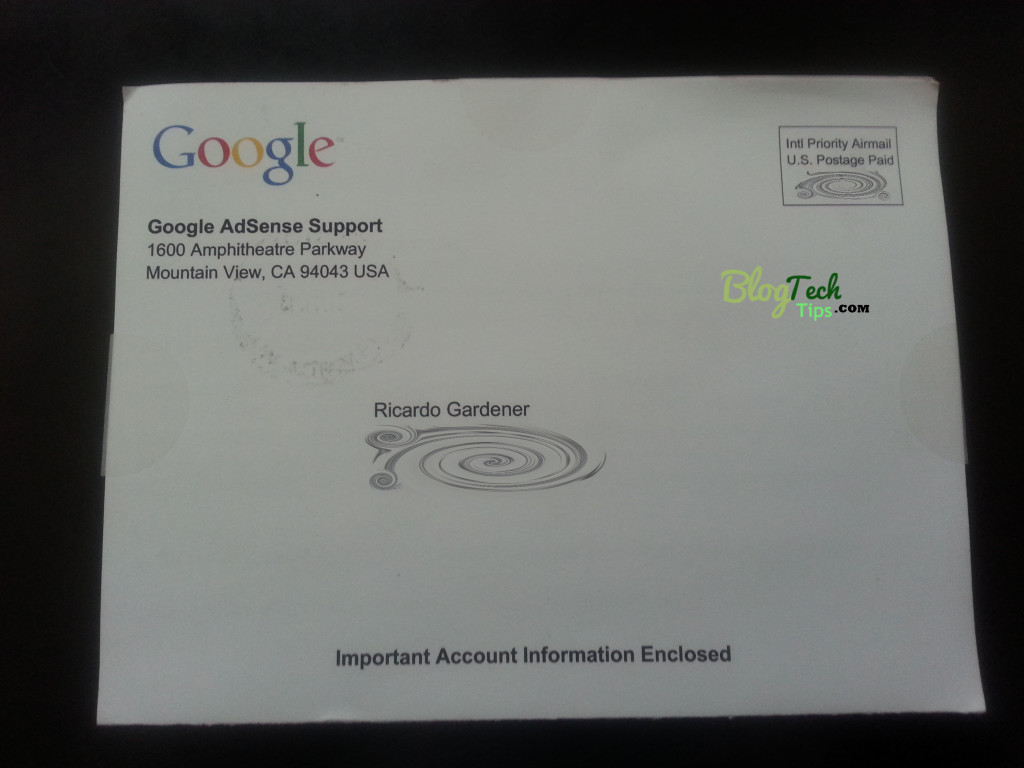
You should now be approve, you only need to work on getting paid or meeting the minimum balance to receive your Google account activation letter.
Earn the basic or minimum Verification Amount.
The minimum amount Google asks for you to earn to get your address verified and activate your account fully can seem unreachable but trust me it is achievable, just stick with it. If you followed our tips above you should get to that number in a short time. When you do that Google will send you a email with you activation code that will take a little time to reach your location depending on where you live.
Simply use the information from the letter and activate your account and you are good to go, your next goal should be the $100 payout mark in order to receive your cheque.
Upgrading From Hosted Adsense Account to Full Adsense Account (Optional)
Now if your first Blog is a blogger Blog or a YouTube account you will most likely have a hosted account as most bloggers start out on Blogger and migrate to WordPress after they loose the training wheels. So you may want to upgrade your Adsense account then to a full account that allows you to display your ads on any website, especially Google non partner hosted websites.
To do this you will need to have a second website that meets the requirements I outlined above , then from within your Adsense dashboard do the following:
1. From the Home tab within Adsense control panel, select account settings.
2. Under websites authorized to show ads, simply edit and add your new website and follow the instructions and wait for full approval.
3. It may take a day or two but you should be fully approved to show your ads on any website that meets Adsense standards and rules from now on without informing Google or requesting approval.
So now you can create as much websites as you like and monetize them with Adsense. So what do you think?, Did you find this tutorial useful or helpful? be sure to leave a comment or two below.


Google has intensified its review (and banning) of erring Adsense sites/accounts. We’ve encountered a lot of our publishers getting the same warning whenever they have failed to comply with Google’s program policies. To make sure webmasters get through the warning and do not get banned, we’re suggest reading and sticking to adsense terms of service to make sure they are Google-compliant.
Familarising ones slef with the adsense rules -does and donts is one of the smart things webmasters can do in order to protect themselves from being banned. It does not take a rocket scientist to figure out the rules and to make things easier Google as cretaed YouTube videos that makes the rules as clear as day.